This article explains how to create an Import Specification in IBM Controller Web to load budget data where each period is stored in a separate column in an Excel file.
This approach is commonly used for annual budget files, where January to December values sit side by side across the spreadsheet.
Step 1: Prepare the Controller database #
Before creating the Import Specification, ensure the target actuality and periods are unlocked.
-
Open Controller Classic
-
Go to Period Locking
-
Unlock:
-
The BU Budget actuality
-
All relevant periods (for example, periods 2801 to 2812)
-
This must be done before any data can be imported.
Step 2: Confirm the correct project in Controller Web #
When using Looping by period, the project selected in Controller Web is important.
-
The project must be set to the first period of the data
-
In this example, the project is 2801 BU Budget
This ensures Controller knows where to start when looping across periods during the import.
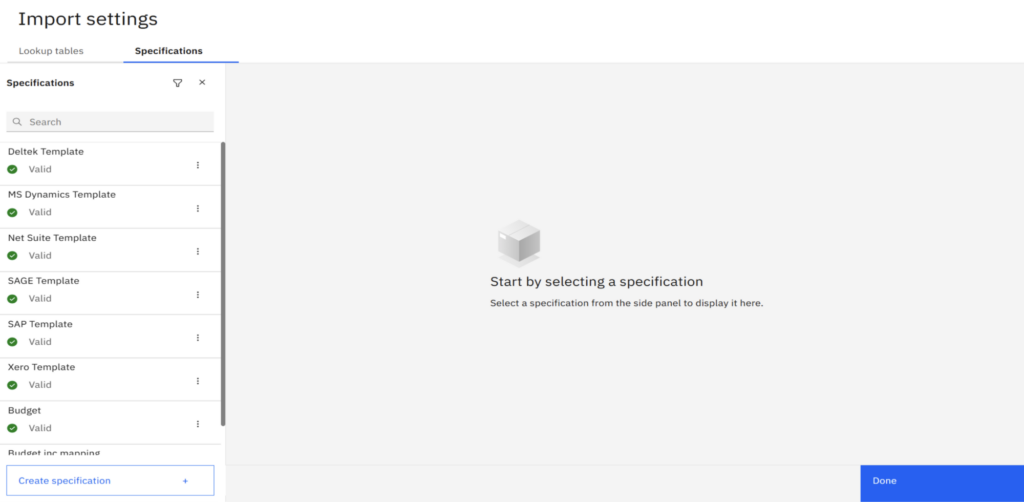
Step 3: Open Import Settings #
-
In Controller Web, open Import Data
-
Select Import Settings
-
Go to the Specifications tab
-
Click Create specification
Step 4: Create the Import Specification #

In the Create specification window, define the following:
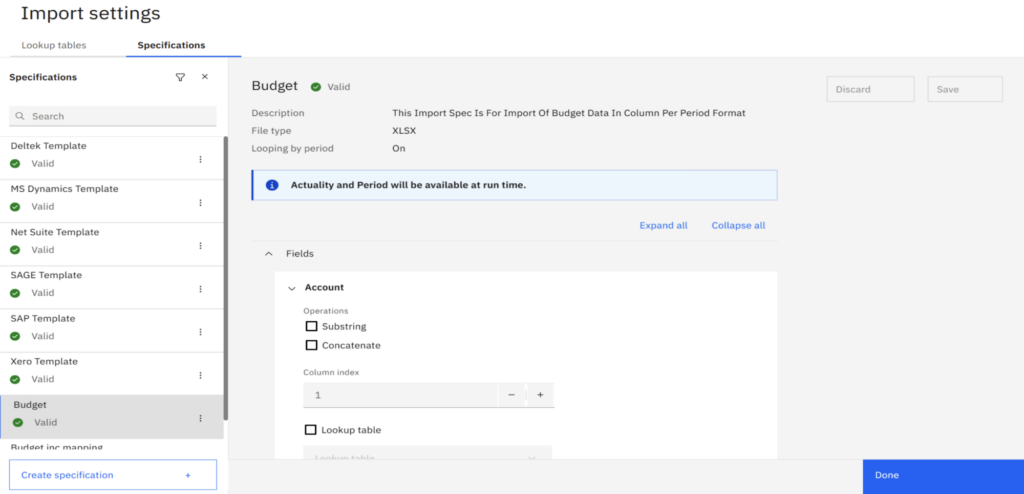
General settings #
-
Name
Example:Budgets -
Description
Example:
This import specification is for importing budget data in column-per-period format. -
File type
XLSX -
Start row
Set to the first row that contains data (for example, row3) -
Enable:
-
✅ Skip amount 0
-
✅ Looping by period
-
Click Create to save the specification.
Step 5: Understand “Looping by period” #
Once Looping by period is enabled, you’ll see a message stating:
Actuality and Period will be available at run time.
What this means:
-
You do not define Actuality or Period in the specification itself
-
They are selected at runtime
-
By default, Controller uses:
-
The actuality from the selected project
-
The first period of the project as the starting point
-
This is why starting in 2801 BU Budget is important.
Step 6: Configure the field mappings #
Set up the standard Controller fields as usual, for example:
-
Account
-
Company
-
Dimensions
Amount field (key step) #
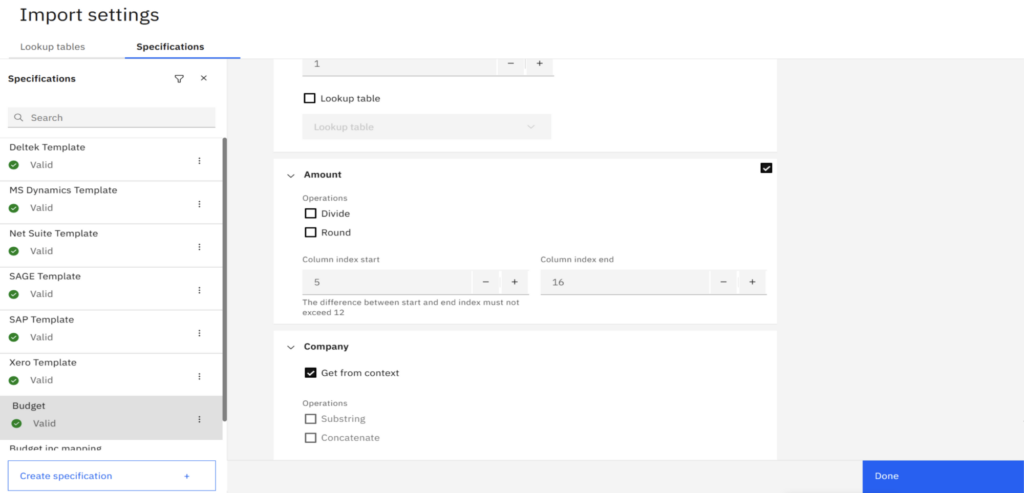
The Amount field is where the period boundaries are defined.
-
Enable the Amount field
-
Set:
-
Column index start
This is the column number where the first period begins in Excel
Example:5 -
Column index end
This is the column number where the last period ends
Example:16
-
This tells Controller to loop across these columns and post each value to the corresponding period.
Note: The difference between the start and end index must not exceed 12.
Save the specification once all fields are configured.
Step 7: Validate and test the import #
Before running the import:
-
Use Import Data Error Report
-
Use Preview Report
These reports allow you to confirm:
-
Column mapping is correct
-
Period looping behaves as expected
-
No data issues exist before posting


